Flamingo Portrait for Beginners – Acrylic Paint
In this 3-hour 30-minute beginner to intermediate acrylic tutorial, I will show you how to paint a realistic flamingo portrait using my simple seven layer process.
We will focus on:
- Toning the canvas and setting up the painting
- Drawing the outline using a grid
- Understanding a warm and cool colour palette
- Blocking in the background and portrait
- Building soft feathers through layered opacity and glazes
- Creating depth, glow and realism through colour control
- Refining the eye, beak and feather structure
- Adding final detail and finishing touches
This tutorial is ideal for artists who want a clear, structured approach to completing a realistic wildlife portrait in acrylic from start to finish.
The reference image used in this tutorial is sourced from Pixabay.com and is royalty free for artists to use.
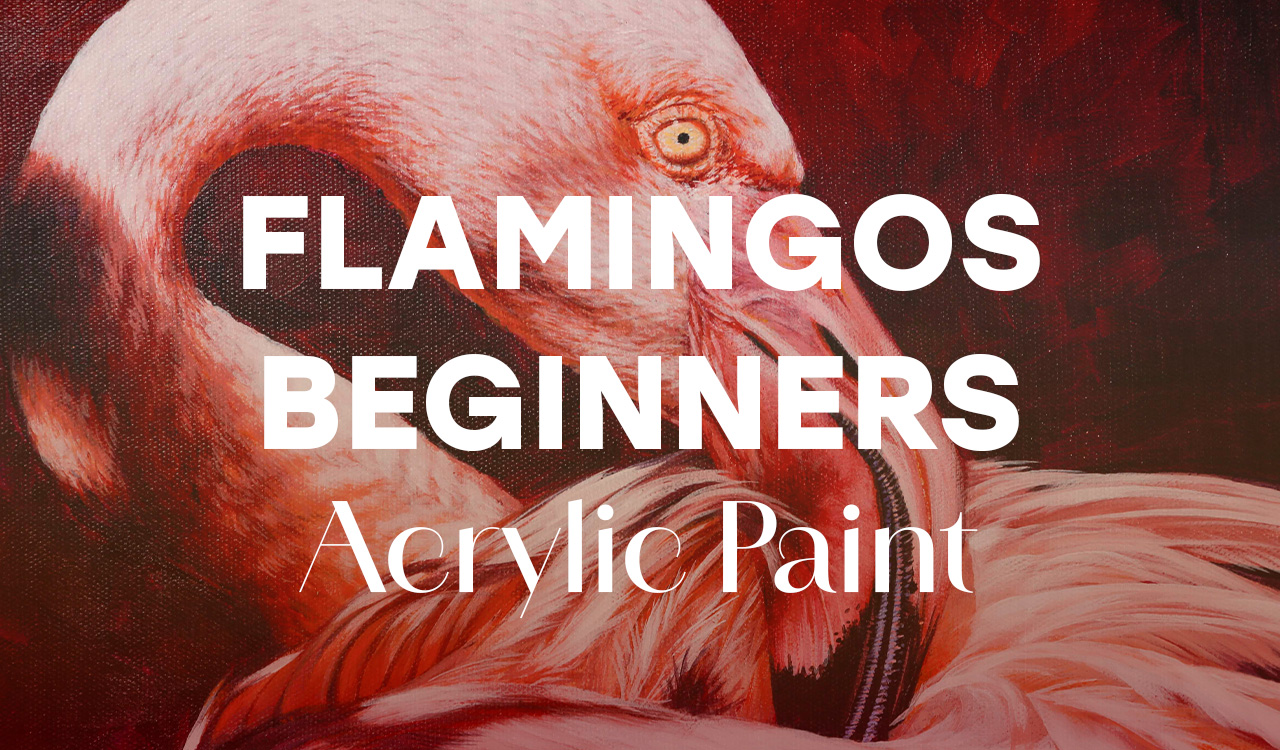
Flamingo Portrait for Beginners - Acrylic
-
Getting Started
7 lessons- Introduction
- The Seven Layer Process
- Materials
- Toning the Canvas
- Grid & Outlines
- Palette Prep
- Resources
-
The Seven-layer Application Process
10 lessons- Layer One - Blocking In
- Layer Two - Opacity Layer
- Layer Three - Shadow Glaze
- Layer Four: Opacity Layer - The Eye
- Layer Four: Opacity Layer - The Beak
- Layer Four: Opacity Layer - The Feathers
- Perfecting the Eye
- Layer Five - Darker Mid Tones
- Layer Six - Mid Tones
- Layer Seven - Finishing Touches