

Blue Macaw Beak - Acrylic
In this 2 hour tutorial I will take you through painting a blue macaw beak, focusing on how to handle the mix of smooth surfaces, rough fibres and subtle colour shifts so it feels solid and lifelike. We will work through it in a practical way so you can apply the same approach to other bird subjects.
We will focus on:
- Painting smooth, curved surfaces
- Creating rough, flaking textures
- Capturing the waxy surface of the beak
- Adding scratches and fine detail
- Using contrast to define structure
- Introducing colour to enhance the final result
A great lesson for learning how to control texture without overworking the surface.
This is part one of a two part series. The second lesson focuses on painting claws and feet.
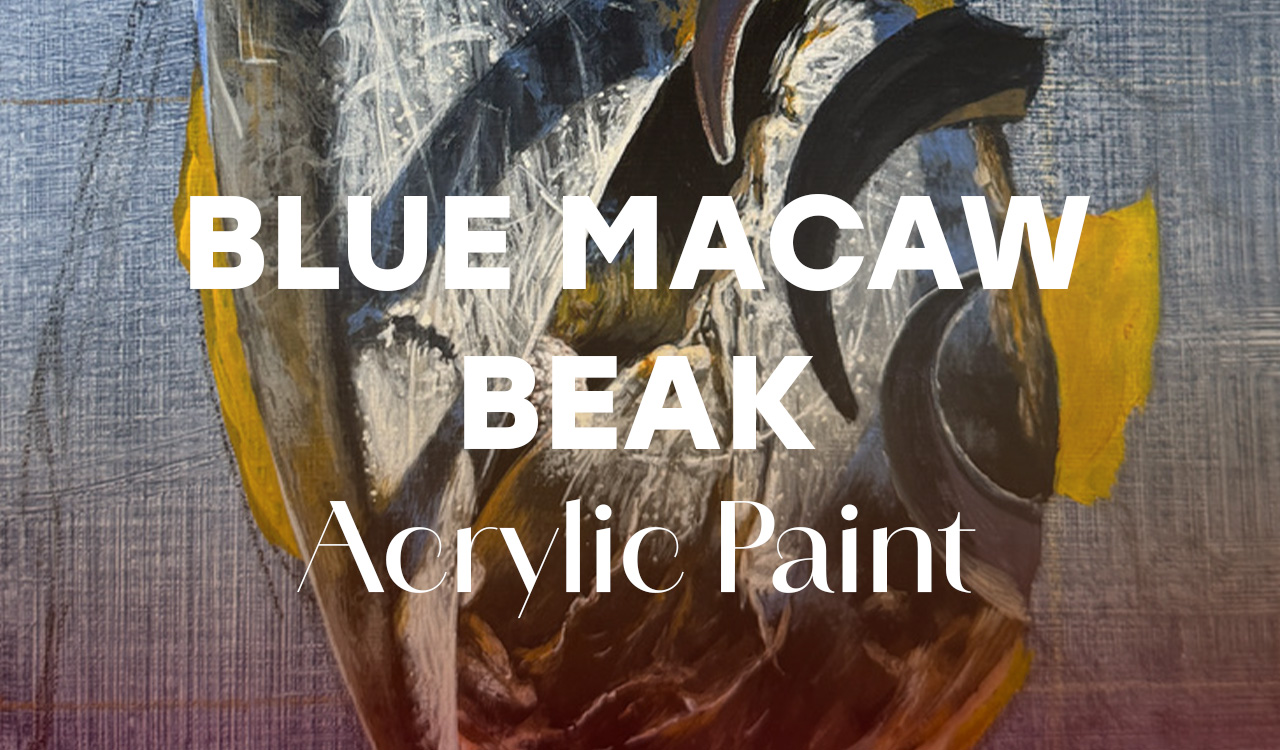
Blue Macaw Beak Acrylic Tutorial
-
Getting Started
5 lessons- Introduction
- Toning the Canvas
- Outlines
- Palette Preperation
- Resources
-
Stage 1 - Base layers and shadows
3 lessons- Blocking in
- Opaque Details - Base Layers
- Creating Light in the Shadows
-
Stage 2 - Light, colours & texture
4 lessons- Glazes & Contrast - Defining the shape
- Lower Beak - Enhanced Details
- Refining Details - Glowing Light & Texture
- Defining the Shadows - Details & Colour
-
Stage 3 - Finishing Touches
1 lesson- Finishing Touches & Vibrant Colours
